DIY Hair Extension Installation: Tips and Tricks from the Pros


Why Choose DIY Hair Extensions?
Hair extensions are a fantastic way to add length, volume, and versatility to your hairstyle. While salon installations can be costly, many people are turning to DIY methods for a more budget-friendly option. Installing hair extensions yourself can be a rewarding experience, allowing you to tailor the process to your specific needs and style preferences.
DIY hair extension installation is becoming increasingly popular due to the variety of options available on the market. From clip-ins to tape-ins, there's a method suitable for everyone. Plus, learning to install them yourself gives you the flexibility to switch up your look as often as you'd like without the additional salon costs.
Choosing the Right Type of Extensions
The first step in DIY hair extension installation is selecting the right type of extensions. Here are some popular options:
- Clip-in Extensions: These are easy to install and remove, making them perfect for beginners.
- Tape-in Extensions: Known for their natural appearance, these require a bit more skill but offer a seamless look.
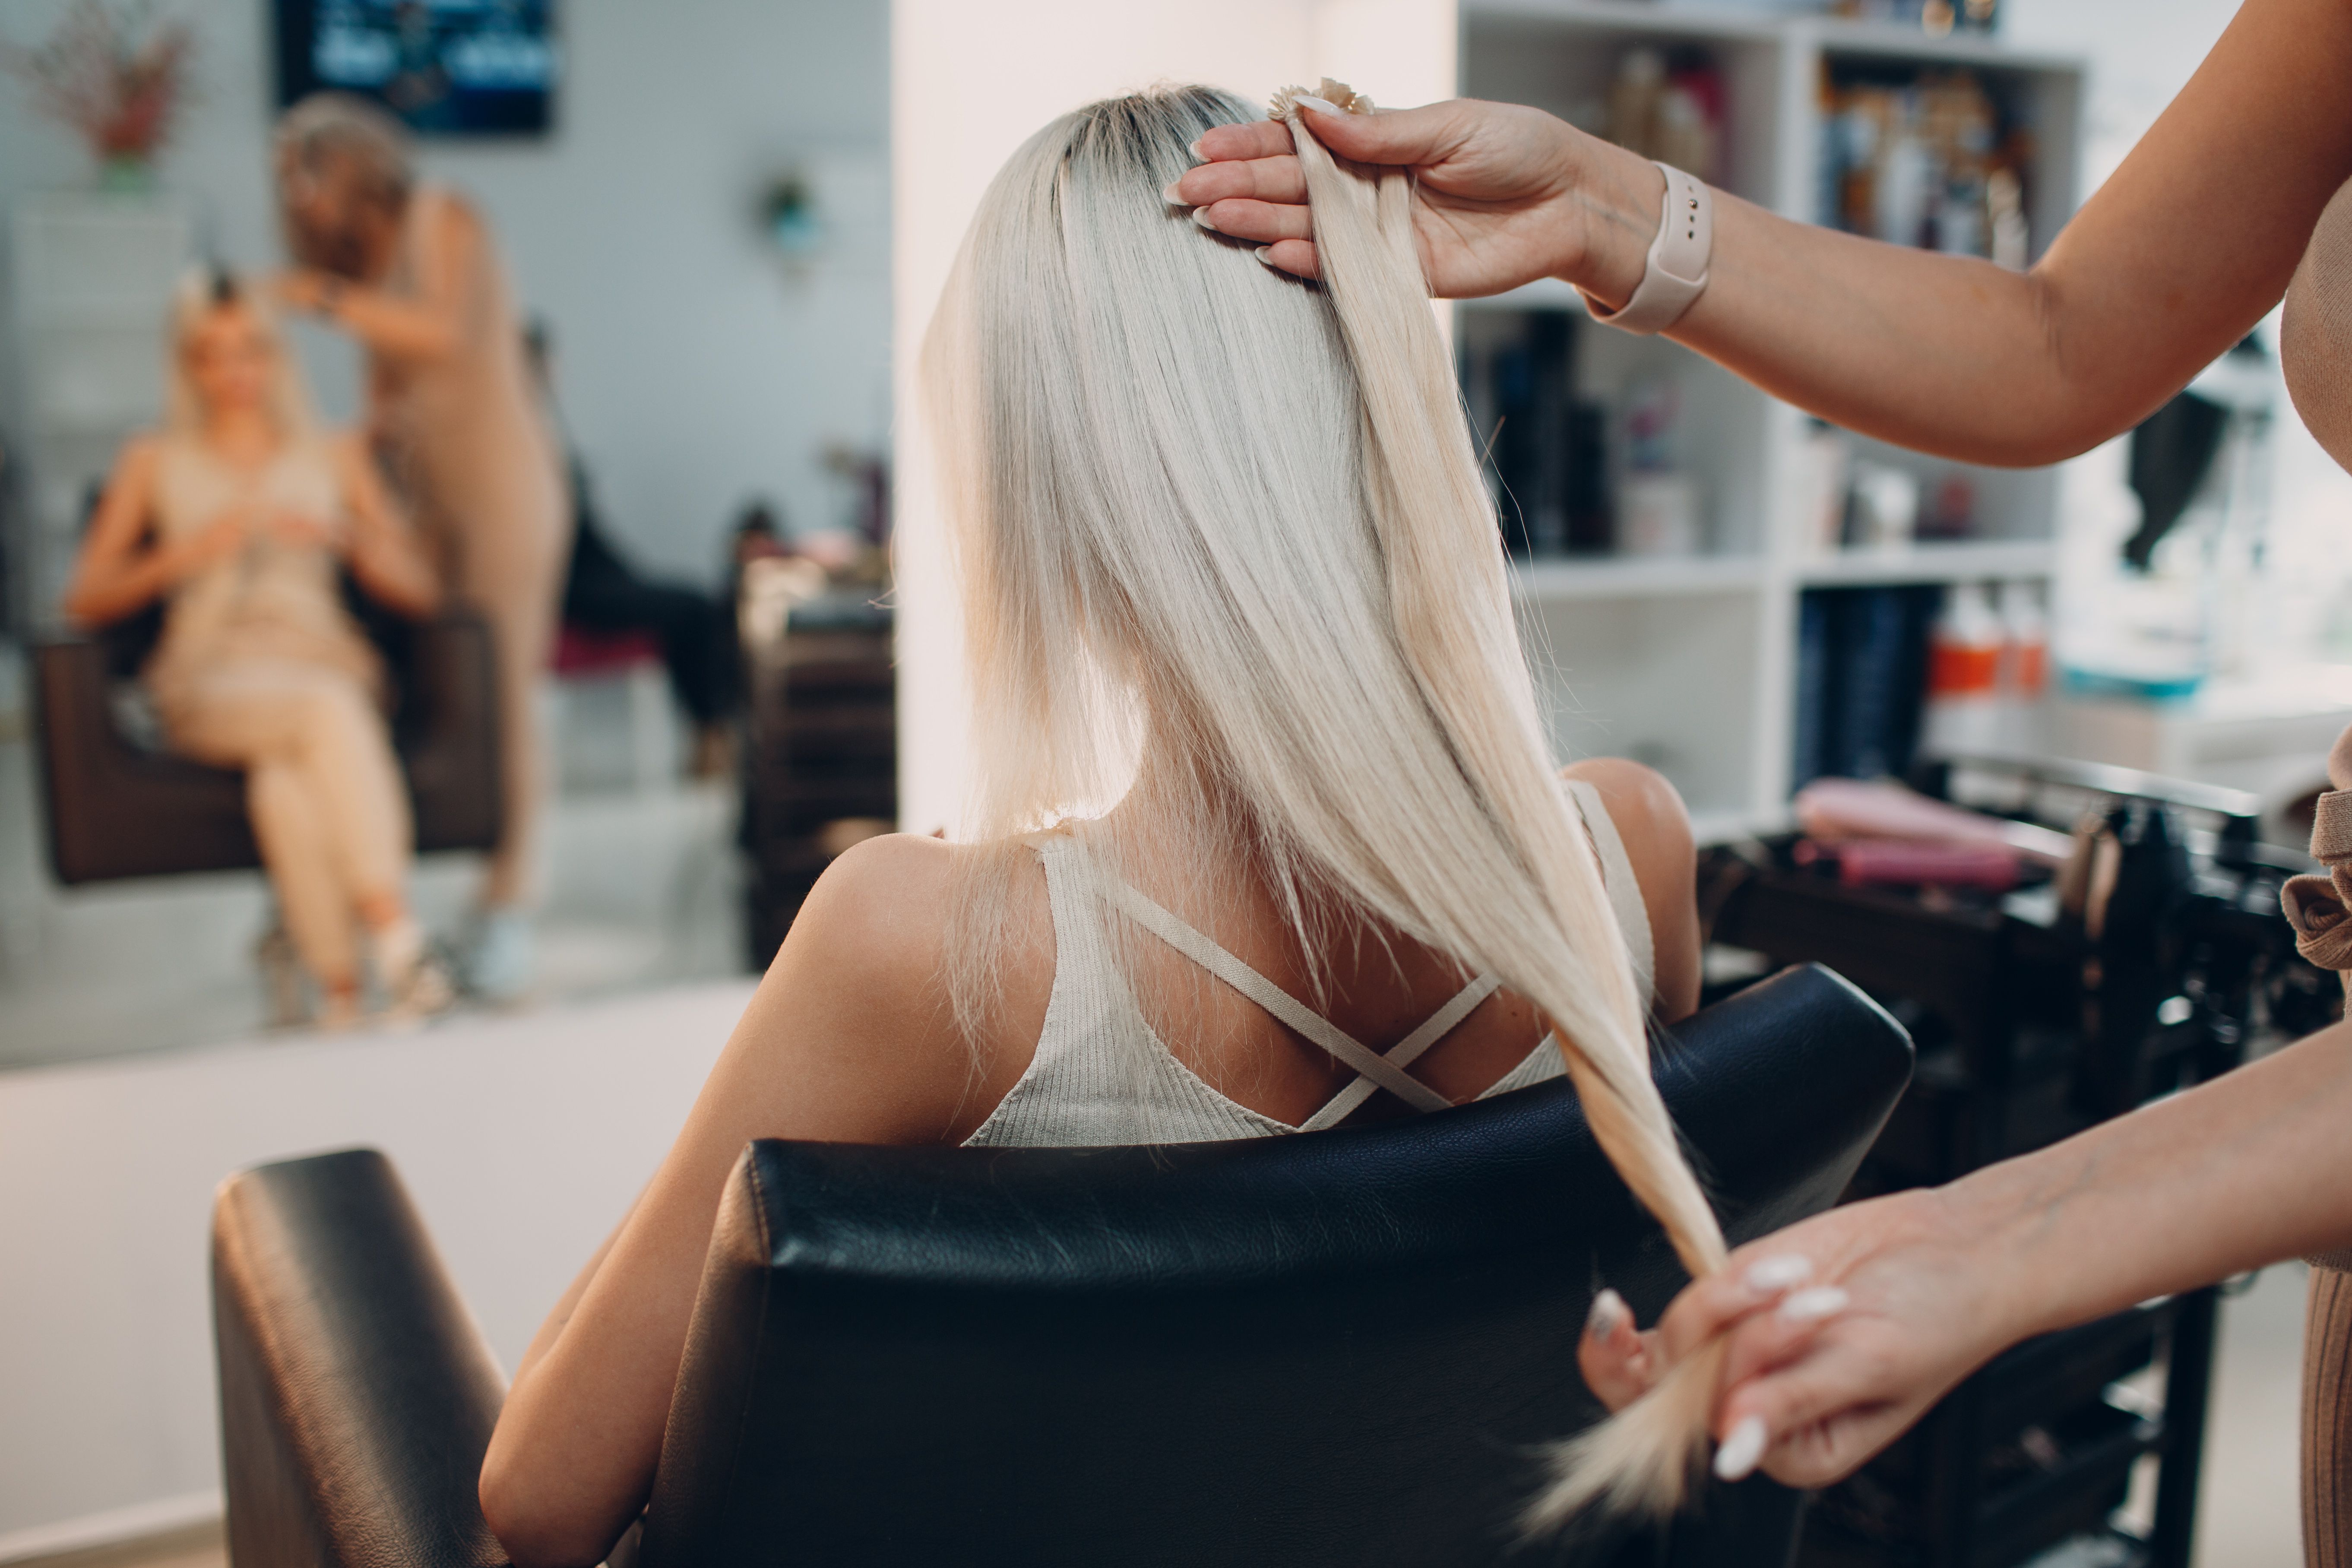
- Micro-ring Extensions: These provide a longer-lasting solution and require tools for installation.
Consider your lifestyle and hair type when choosing extensions. For instance, if you plan to wear them daily, opt for high-quality human hair extensions that will withstand frequent styling.
Preparation is Key
Proper preparation is essential for a successful DIY installation. Start by washing and drying your hair thoroughly. Clean hair provides a better grip for the extensions, ensuring they stay in place longer.
Next, gather all the necessary tools, such as a tail comb, clips, and a mirror. Having everything you need on hand will make the process smoother and more efficient. Additionally, ensure that your work area is well-lit to help you see what you're doing clearly.
Step-by-Step Installation Guide
Once you're prepared, follow these steps to install your extensions:
- Section Your Hair: Use a tail comb to create horizontal sections starting from the nape of your neck.
- Attach the Extensions: If using clip-ins, open the clips and attach them close to the roots. For tape-ins, peel off the backing and sandwich small sections of your natural hair between two tape pieces.
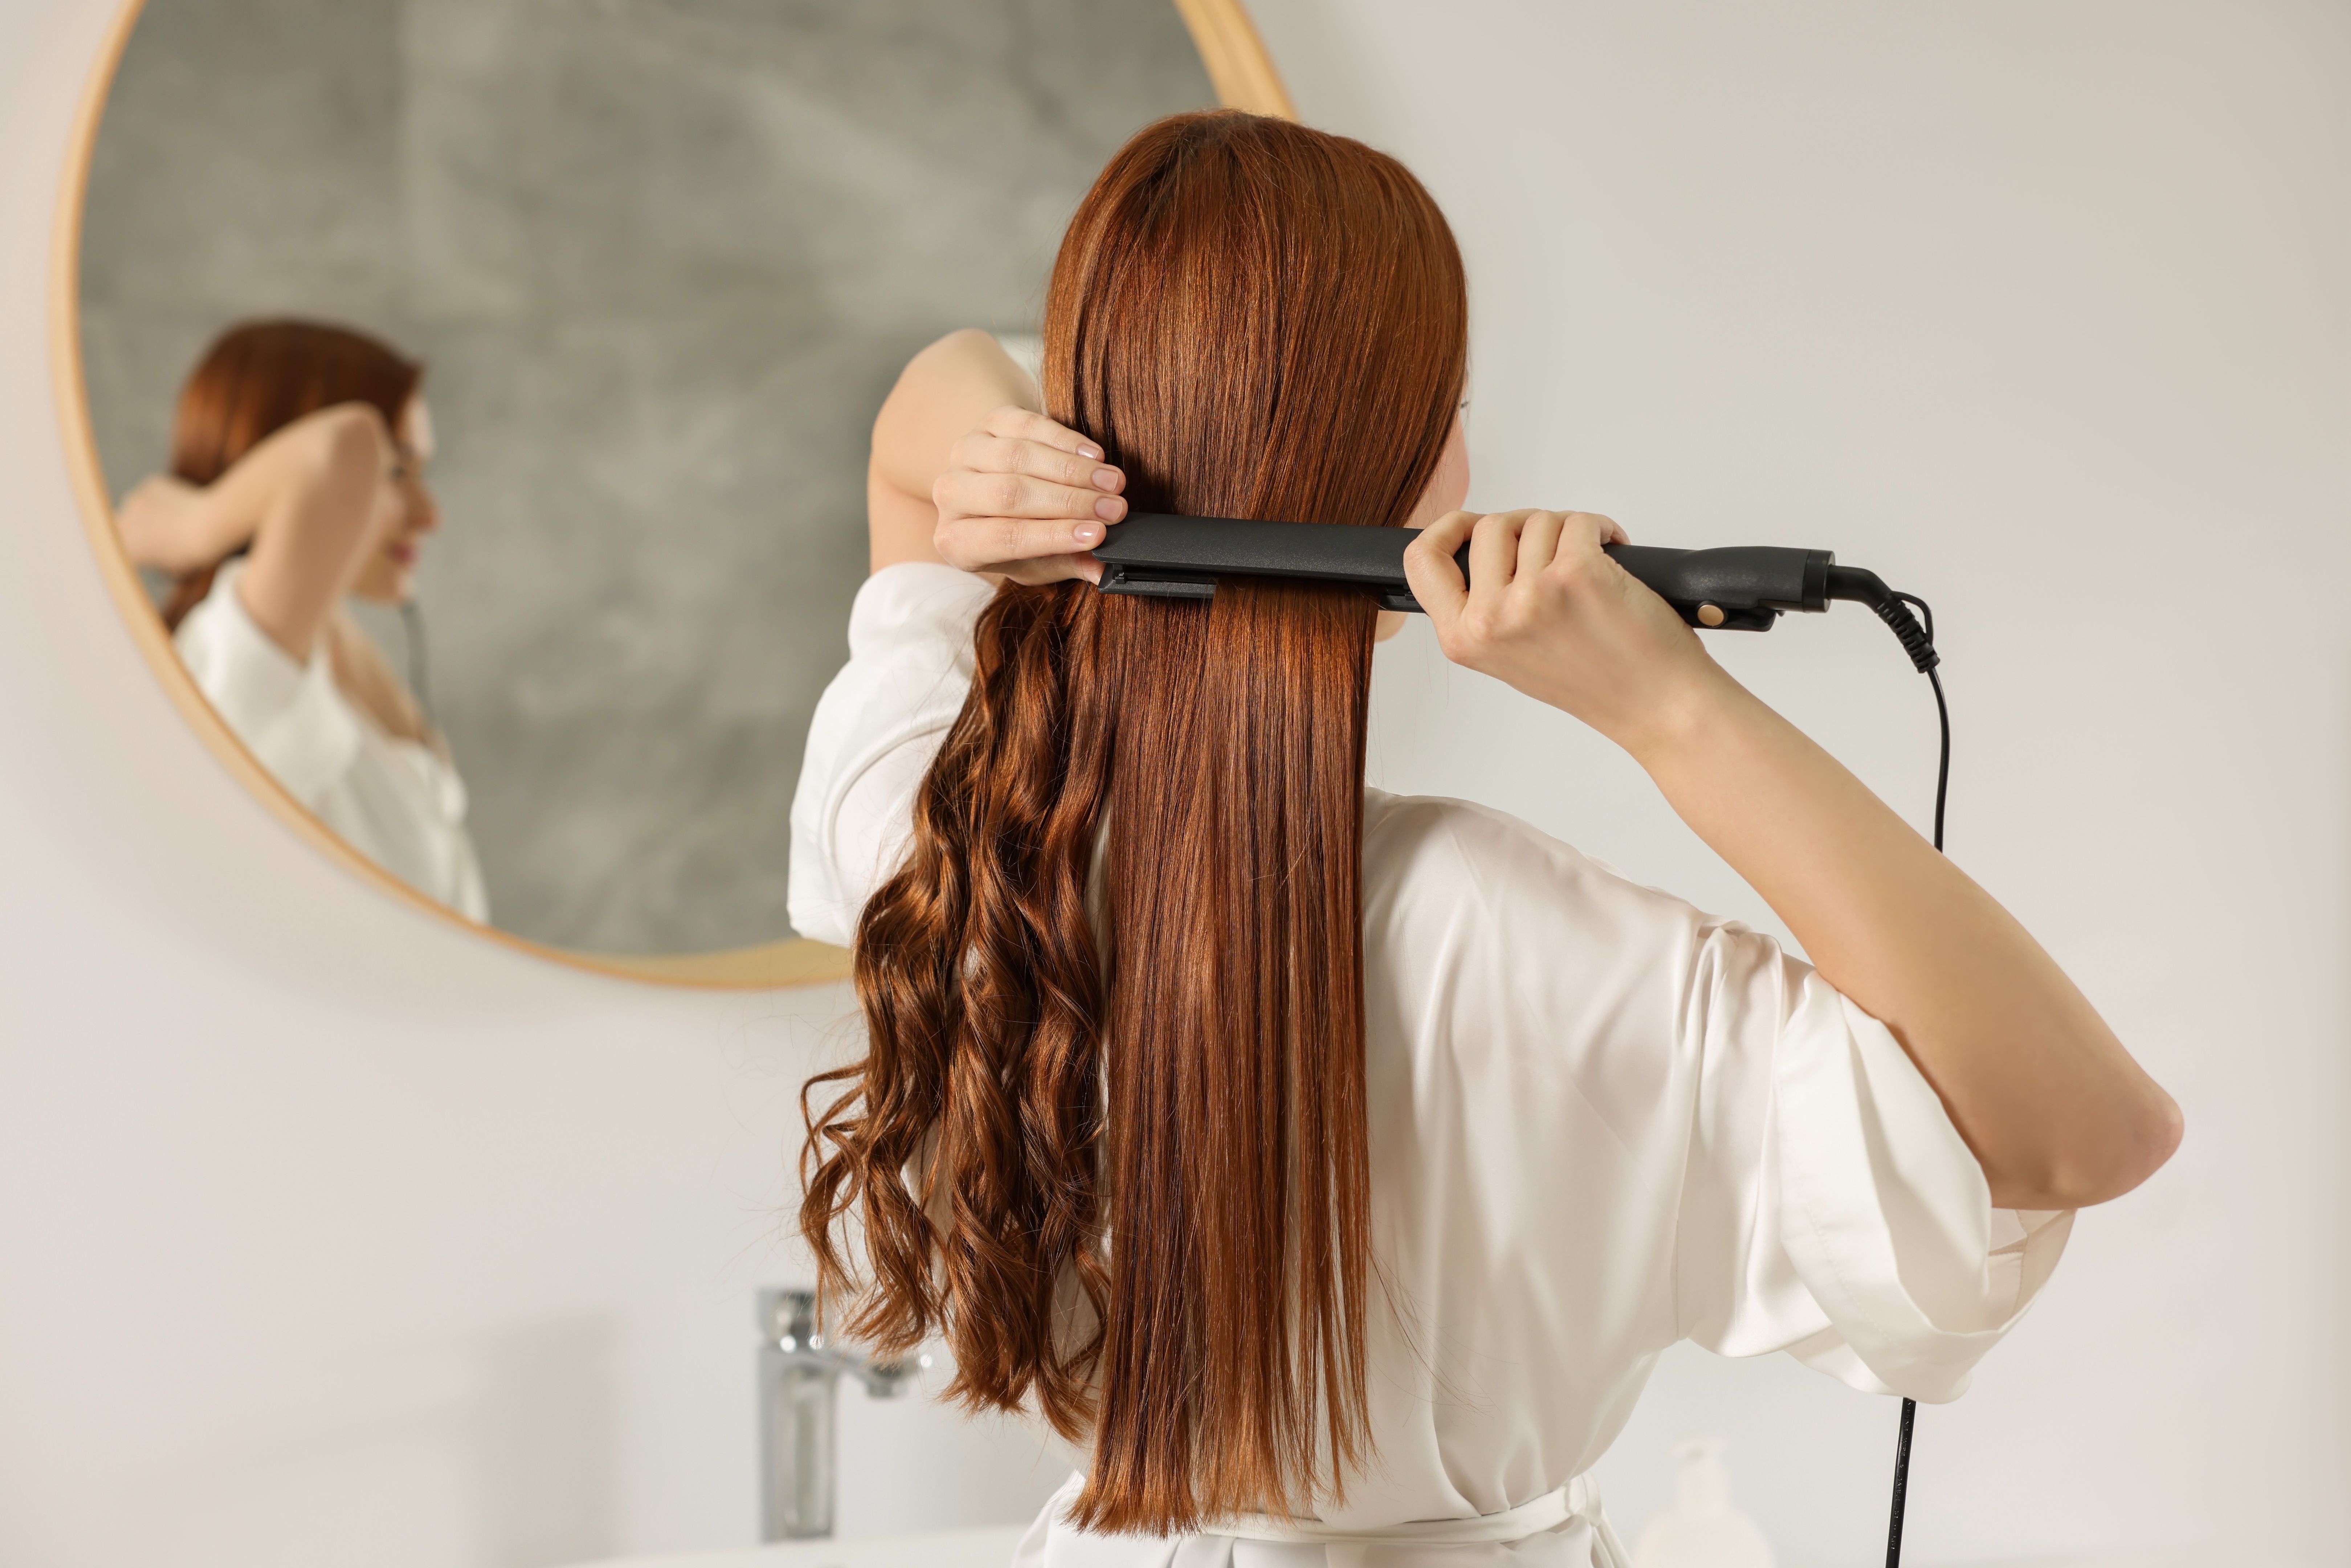
- Blend Naturally: Once all extensions are in place, use a brush or comb to blend your natural hair with the extensions seamlessly.
Take your time during this process to ensure each piece is securely attached and looks natural. Rushing may lead to uneven placement or discomfort.
Troubleshooting Common Issues
If you're new to DIY hair extension installation, you might encounter a few challenges. Here are some solutions to common problems:
- Slipping Extensions: This can occur if your hair is too silky. Try backcombing the roots slightly before attaching the extensions for better grip.
- Visible Extensions: If you notice visible wefts, adjust the placement or consider using smaller sections of hair for coverage.

Aftercare for Longevity
Once your extensions are installed, proper aftercare will ensure they last as long as possible. Avoid using heavy oils or conditioners near the roots where the extensions attach, as this can lead to slipping.
When styling, use heat protectant sprays and avoid excessive heat to prevent damage. Regularly brush your hair with a soft-bristle brush to prevent tangling and maintain a smooth appearance.
The Benefits of DIY Hair Extensions
Installing hair extensions yourself offers numerous benefits beyond cost savings. It provides you with flexibility and control over your appearance, allowing you to experiment with different styles at your convenience.
Moreover, mastering this skill can boost your confidence and open up possibilities for creativity in hairstyling. With practice, you might even find yourself becoming the go-to person among friends for extension advice!